Current Trends in Backsplash Slabs for Thousand Oaks CA Homes
October 28, 2025
Maintaining Backsplash Slabs in Thousand Oaks CA for Longevity
October 31, 2025Common Issues With Backsplash Slabs in Thousand Oaks, CA
Slab backsplashes have transformed Thousand Oaks kitchens, bringing a sense of calm and continuity that small-format tiles simply can’t deliver. Yet even the most beautiful slab can run into trouble if planning, fabrication, or daily care fall short. Understanding the most common issues—and how to prevent them—helps homeowners enjoy the full benefits of a slab-style backsplash for years to come.
Substrate Irregularities and Wall Preparation
The Problem with Uneven Walls
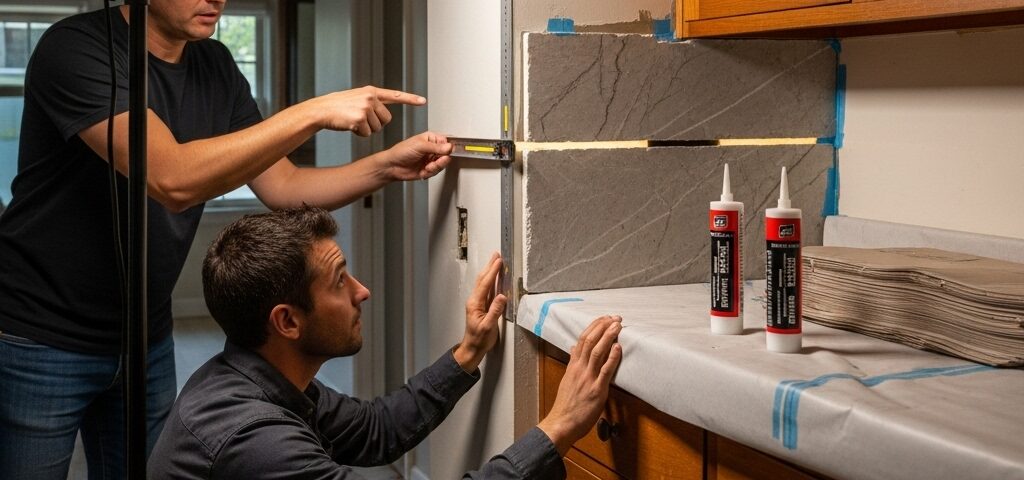
One of the first challenges is substrate irregularity. Kitchen walls are rarely as flat and plumb as we imagine. In older homes and even in new builds, slight bows or waves in drywall can create pressure points behind a large, rigid panel. Over time, those inconsistencies may lead to micro-cracking or visible unevenness under lighting.
Proper Wall Preparation
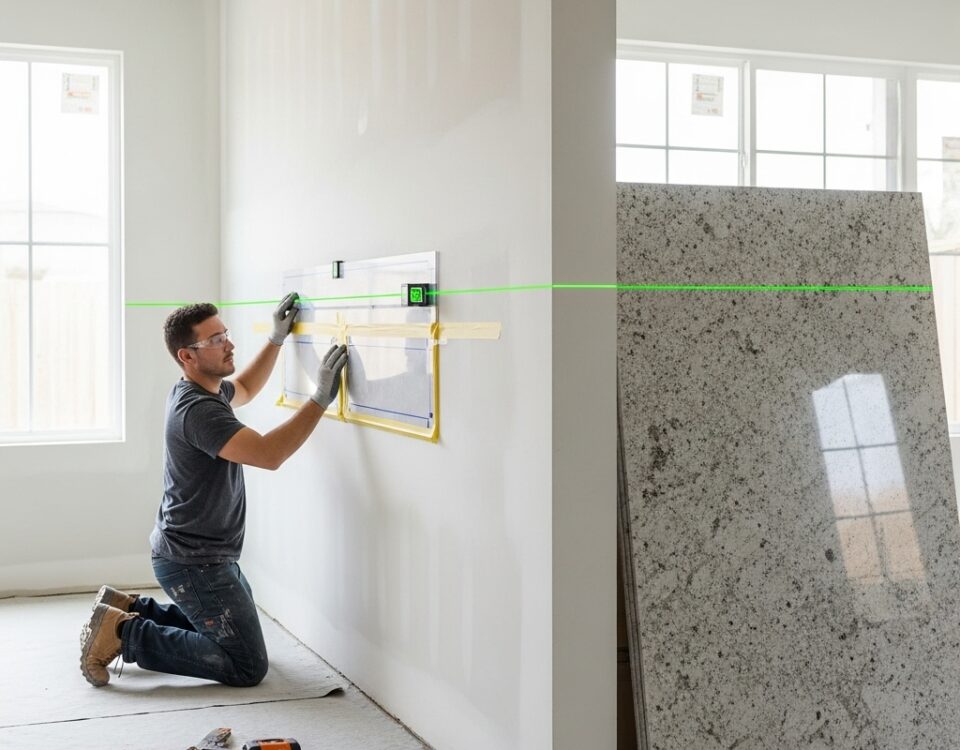
The solution is meticulous prep: skim coating to flatten, checking studs, and planning for the slab’s thickness and behavior. Skipping this step can undermine even the most exquisite material.
Seam Placement and Pattern Alignment
Why Seam Location Matters
Seam placement is another commonly misunderstood aspect. While many Thousand Oaks kitchens manage a seamless backsplash, certain layouts require joints. Poorly placed seams or misaligned veining can disrupt the visual flow.
Achieving Seamless Results
Quality fabricators study the slab’s movement, hide seams in quiet areas, or bookmatch patterns to create nearly invisible joins. Without that forethought, seams become distracting focal points.
Cutouts and Hardware Integration
Avoiding Cracks Around Outlets and Fixtures
Cutouts for outlets, switches, and pot fillers can weaken slabs if not properly executed. Sharp corners or poor planning may lead to cracking over time.
The Best Way to Integrate Devices
Rounded corners, proper spacing, and clean finishes help maintain the slab’s strength and beauty. Color-matched outlets and trimless covers ensure hardware blends in seamlessly.
Adhesive and Thermal Stress Issues
Using the Right Adhesives
Adhesive failure can occur if the wrong bonding product is used or if surfaces aren’t prepared correctly. In Thousand Oaks’ fluctuating climate, this can cause slabs to detach or shift.
Managing Heat and Expansion
High-output ranges and ovens can cause localized heat buildup. Proper ventilation, spacing, and adhesive compatibility prevent thermal stress and fissures.
Staining, Etching, and Surface Wear
Understanding Material Sensitivity
Some materials—like marble—are prone to etching from acidic foods such as lemon juice or vinegar. Quartz and porcelain are more resistant but still require care.
Preventing Stains and Damage
Regular sealing, quick cleanup, and realistic expectations help homeowners maintain the slab’s pristine look even with frequent cooking.
Countertop and Backsplash Alignment
Avoiding Lippage and Uneven Joints
Lippage or misalignment where the slab meets the countertop can ruin a sleek design. Proper templating and teamwork between countertop and backsplash installers ensure a flawless transition.
The Role of Lighting in Revealing Flaws
How Light Affects Appearance
Under-cabinet LEDs beautifully highlight slab textures—but can also expose imperfections. Even residue from improper cleaning becomes visible under harsh light.
Lighting Adjustments for a Polished Look
Choosing a honed finish, warm lighting tones, and regular deep cleaning keeps the slab looking elegant and smooth.
Handling and Weight Concerns
Preventing Damage During Installation
Heavy slabs require experienced handling. Mishandling can chip corners or crack surfaces. Professional installers plan access routes and protect your home during transport and fitting.
Moisture Intrusion and Sealing
Protecting Against Water Damage
Moisture can seep through joints around sinks and windows. Regular inspection and resealing of caulk lines prevent hidden damage behind the slab.
Cleaning Products and Finish Preservation
Avoid Harsh Cleaners
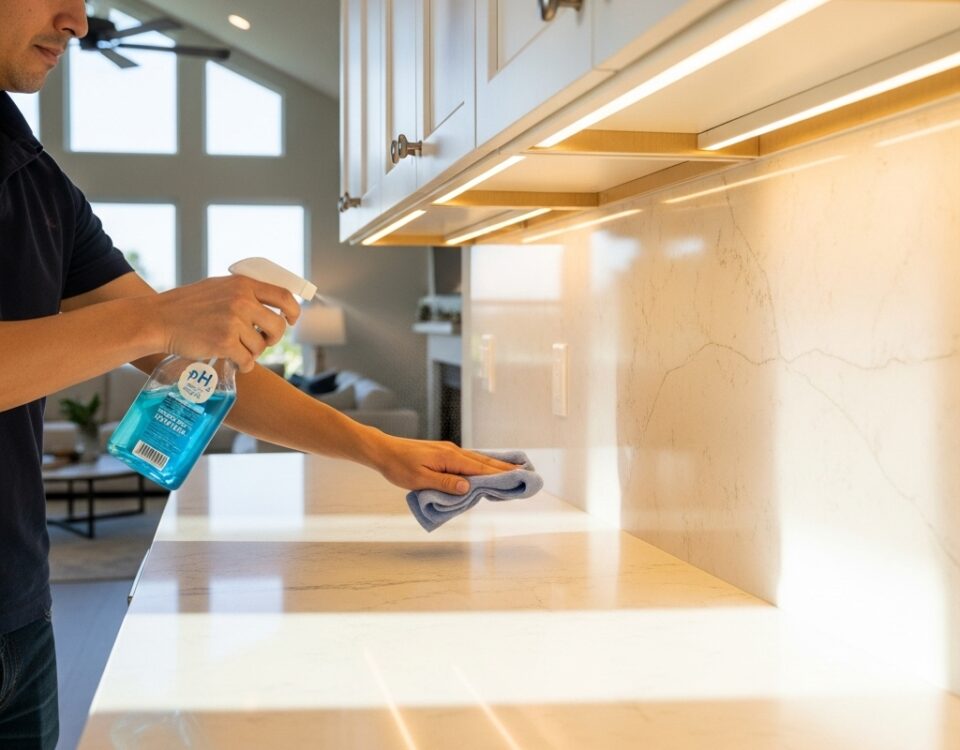
Acidic or abrasive cleaners can dull finishes or cause discoloration. The key is using a pH-neutral cleaner and soft cloths to maintain the slab’s original luster.
Outlet Placement and Visual Clarity
Reducing Visual Clutter
Too many outlets can break up a slab’s beauty. Early planning and discreet placement under cabinets preserve the uninterrupted visual flow.
Mixing Finishes and Lighting Consistency
Achieving Design Cohesion
If your countertop is polished and your backsplash honed, the difference must feel intentional. Consistency in sheen and lighting temperature ensures a harmonious look.
Balancing Bold Design Choices
Avoiding Overly Busy Kitchens
Choosing a dramatic slab is fine—if balanced with subtle cabinetry and flooring. Thoughtful restraint ensures your design feels elegant, not overwhelming.
Planning and Material Selection
Testing Materials Before Installation
Always view full slabs alongside cabinet and floor samples. Lighting changes everything, so evaluate undertones in both daylight and artificial light before deciding.
Learning from Real-World Examples
The Value of Inspiration Galleries
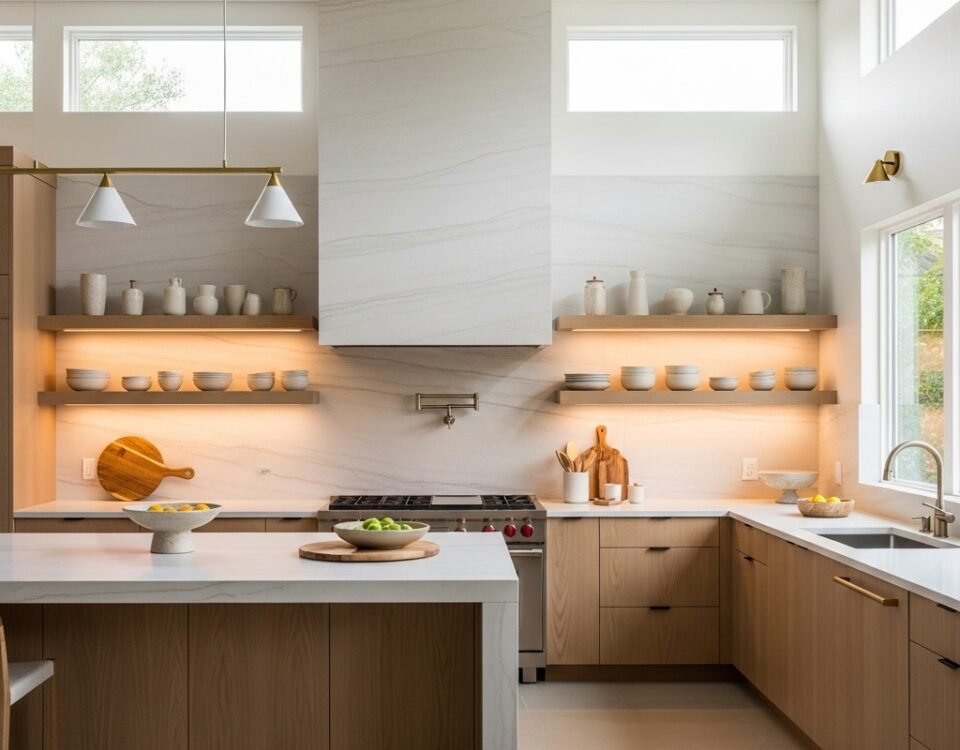
Curated galleries help visualize how veining, finishes, and edges transform spaces. Seeing real installations clarifies which design choices best fit your Thousand Oaks kitchen.
Frequently Asked Questions
Q: What’s the best way to avoid cracks during and after installation?
A: Start with a flat, sound substrate and work with experienced installers who understand handling and adhesive systems. Ensure proper clearances around cutouts and plan for thermal movement, especially near ranges and windows.
Q: How do I deal with outlets without ruining the slab’s look?
A: Consolidate where you can, use color-matched devices, and consider placing some outlets under the cabinets. Early planning with your electrician and fabricator keeps the wall quieter visually.
Q: Are marble slabs a bad idea behind the range?
A: Not necessarily. Marble can perform well with proper sealing, a honed finish, good ventilation, and prompt cleanup of acids. If you prefer less maintenance, porcelain or quartz with a marble look can be excellent alternatives.
Q: Why does my slab look streaky under the lights?
A: Residue from detergents or hard water can create a film, especially on honed finishes. Switch to a pH-neutral cleaner, use soft microfiber, and occasionally buff dry. Adjusting lighting temperature can also reduce glare and reveal the surface’s true character.
Q: Can I replace a tile backsplash with a slab without changing the countertops?
A: Often yes, provided the counters are level and in good condition. A professional will template the existing counter line and ensure a clean, flexible joint between the two surfaces.
Solve Common Backsplash Slab Problems with Expert Help in Thousand Oaks!
If you’re preparing to install or troubleshoot a slab backsplash, thoughtful planning and the right partners are your best allies. Address the details before fabrication, choose materials that suit your cooking style, and set yourself up with simple care routines. When you’re ready to explore options and visualize the perfect fit for your kitchen, start with a curated selection of backsplash designs and move confidently toward a surface that looks beautiful and lives even better.
Don’t let cracks, stains, or loose slabs ruin your kitchen’s beauty. Contact Arena Marble and Granite today for professional backsplash repair and maintenance in Thousand Oaks, CA!


