Porcelain Vanity Tops: Synthesis of Durability and Style
June 5, 2024Soapstone Countertop Innovations: Integrating Modern Design
June 10, 2024Choosing the Right Marble for Your Backsplash Installation
When selecting marble for your backsplash, consider both aesthetics and function. Marble comes in a variety of colors and vein patterns, each unique, which can complement or enhance your kitchen design. Opt for hues that match your cabinets and countertops to create a cohesive look. It’s important to look at the samples in your kitchen, as lighting can dramatically influence the appearance of the stone. Additionally, think about the finish of the marble; polished marble offers a shiny, reflective surface while honed marble provides a matte finish that might hide scratches and etches better.
Step-by-Step Guide to Installing a Marble Backsplash
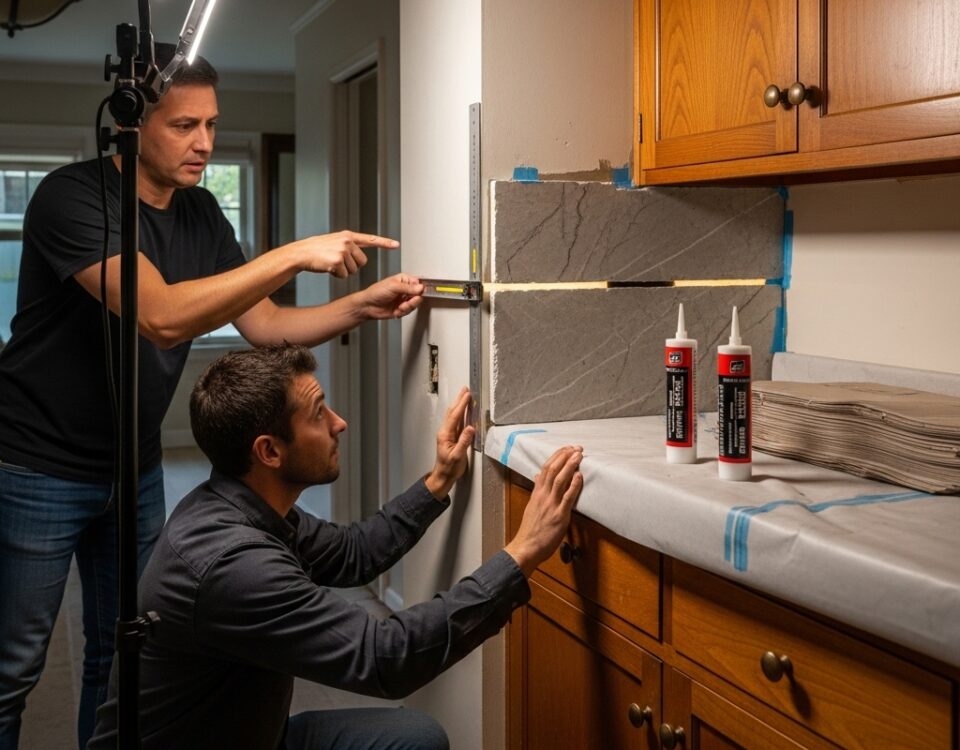
Installing a marble backsplash can be a rewarding DIY project if done carefully. Start by ensuring your wall is clean, dry, and level. Apply a layer of adhesive mortar specifically suited for marble, which needs to be spread evenly using a notched trowel. Carefully place the marble tiles onto the mortar, pressing each piece firmly and leaving space for grout between them. Use spacers to maintain even gaps. Allow the mortar to set as recommended before applying grout, sealing the gaps effectively. Finish by sealing the marble to protect against stains and moisture, enhancing the durability and appearance of your backsplash.
Common Pitfalls to Avoid with Marble Backsplash Installation
Marble installation can be tricky, and common pitfalls can affect the outcome. First, avoid using too much adhesive, which can cause uneven surfaces and misaligned tiles. Ensure that the wall is perfectly smooth and clean before beginning, as bumps and debris can result in a less than satisfactory finish. Another mistake is neglecting to seal the tiles both before and after grouting, which protects against staining and facilitates easier cleaning. Finally, rushing the process can lead to errors, so take your time to measure, cut, and place each tile precisely for the best result.


