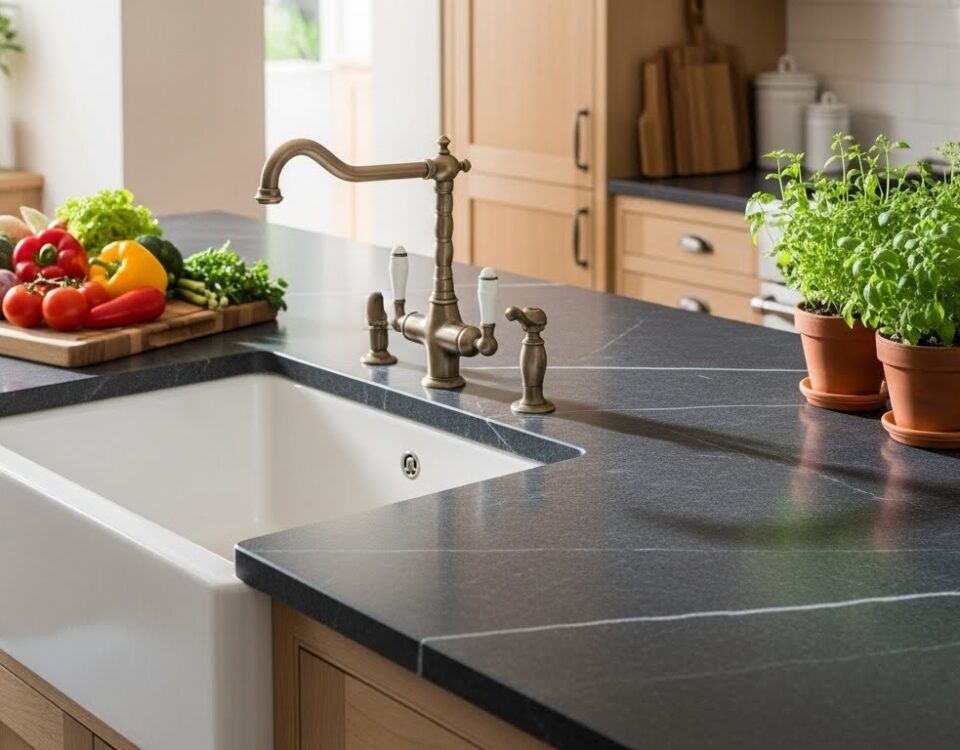
Comparing Soapstone and Granite Kitchen Countertops: Which Is Better?
September 20, 2024How a Soapstone Kitchen Countertop Can Enhance Your Kitchen’s Warmth and Character
September 20, 2024DIY Installation of a Soapstone Kitchen Countertop: A Step-by-Step Guide
Embarking on the DIY installation of a Soapstone kitchen countertop necessitates meticulous planning and precision execution, particularly when handling intricate tasks such as templating and cutting the slabs. Professionals employ tools like wet saws and angle grinders to achieve precise dimensions and smooth finishes. The process involves a series of critical steps, beginning with accurate measurements and dry-fitting, followed by the application of non-staining epoxy adhesive and the strategic use of clamps and weights to ensure stability during curing. To achieve a professional-grade finish, the final stages require careful sanding and sealing with mineral oil. The nuances of each phase are crucial for a seamless installation.
Materials and Tools Needed
Before embarking on the installation of a soapstone kitchen countertop, it is imperative to gather all necessary materials and tools to ensure a seamless process. Essential materials include soapstone slabs, epoxy adhesive, and mineral oil for sealing. The chosen soapstone should be pre-cut to match the precise dimensions of your kitchen layout, allowing for any necessary overhangs or cutouts for sinks and appliances.
Professional-grade tools are critical for achieving optimal results. A diamond-tipped wet saw is indispensable for cutting soapstone with precision, while an angle grinder equipped with a diamond blade facilitates fine-tuning and shaping. For edge profiling, carbide-tipped router bits are recommended to achieve smooth, elegant contours. Additionally, a set of clamps will be necessary to secure the slabs during the adhesive curing process.
Advanced techniques often require specialized equipment. For instance, a power sander with varying grit sandpaper (from 80 to 220 grit) is essential for achieving a smooth, polished surface.
Moreover, a high-quality caulking gun ensures accurate application of epoxy adhesive, minimizing waste and ensuring a robust bond. Finally, a level and measuring tape are indispensable for verifying proper alignment, ensuring the countertop remains perfectly horizontal throughout the installation.
Installation Process
Embarking on the installation process, precision and attention to detail are paramount to achieving a flawless soapstone kitchen countertop. Begin by meticulously measuring and cutting the soapstone slabs to fit the designated kitchen area, ensuring that all edges are square and surfaces are planar. Utilizing a diamond-tipped saw blade will provide clean, precise cuts essential for seamless joins.
After cutting, dry-fit the slabs to verify alignment and fitment, making any necessary adjustments. Employing a high-quality, non-staining epoxy adhesive, apply it evenly to the cabinet surfaces, ensuring complete coverage to prevent any voids that could lead to structural weaknesses. Position the Soapstone slabs carefully, maintaining consistent pressure to ensure optimal bonding.
For securing the slabs, use clamps and weights to maintain uniform contact until the adhesive cures. Pay special attention to the seams; they should be filled with a color-matched epoxy to create an almost invisible joint. Sand the seams with fine-grit sandpaper for a smooth, professional finish.
Read More:
How a Soapstone Kitchen Countertop Can Enhance Your Kitchen’s Warmth and Character
Comparing Soapstone and Granite Kitchen Countertops: Which Is Better?


